How to Calculate Recessed Downlight Spacing?

Time:2026-09-23 Author:Sophia
0%

Planning recessed downlights is more than dividing a ceiling into equal squares. Good spacing balances brightness, comfort, furniture placement, and ceiling height. It also prevents dark corners, harsh shadows, and unnecessary glare on glossy surfaces. How to calculate the spacing for recessed downlights? The answer begins with room dimensions, light output, beam angle, and the task performed in each area.

A practical starting point places the first fixtures about half the intended spacing from the walls. For example, fixtures spaced 1.2 metres apart may begin roughly 0.6 metres from each wall. This arrangement often creates a cleaner light pattern. However, it is only a starting estimate. A narrow hallway, kitchen worktop, or reading area may require closer placement. A high ceiling may need stronger fittings or wider beam distribution.

Experienced lighting designers also consider the actual beam spread. A 40-degree beam can create bright pools with visible gaps if fixtures are too far apart. Furniture changes the result, too. A pendant, tall cabinet, or ceiling beam can interrupt an otherwise careful layout. Small details matter.

Measure twice.

This guide explains the calculations, practical spacing rules, and common design mistakes behind a reliable downlight plan. It also highlights where simple formulas become unreliable. Local electrical requirements, insulation conditions, fire ratings, and dimmer compatibility should be checked before installation. When uncertainty remains, a qualified electrician or lighting professional should review the layout. Good planning saves rework, although no formula can replace observing the room itself.
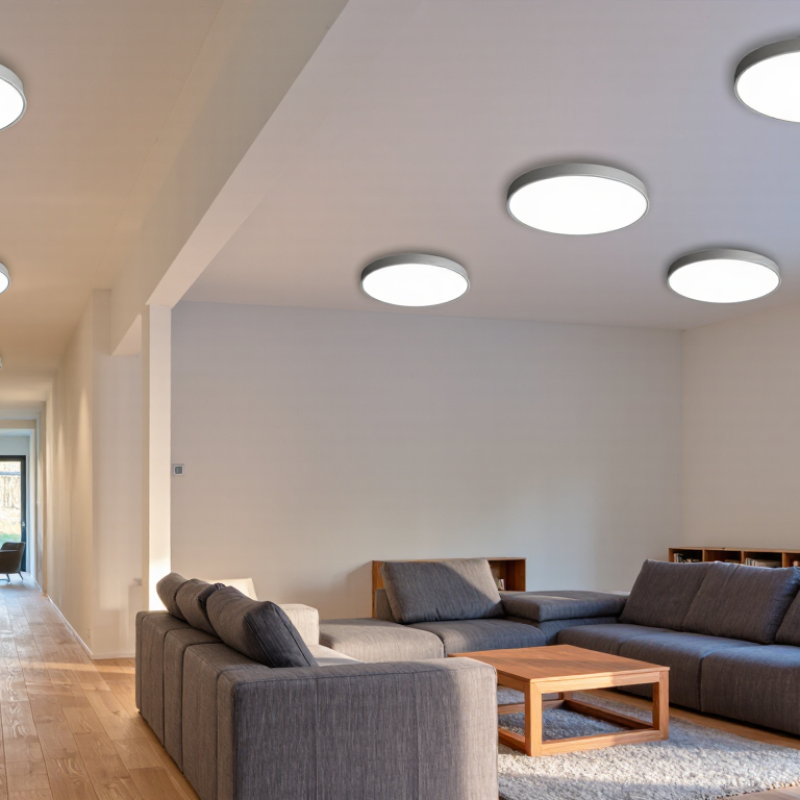
How to Calculate Recessed Downlight Spacing?

Define the Room Layout and Lighting Requirements

How to Calculate Recessed Downlight Spacing?

Define the Room Layout and Lighting Requirements

Start with the room, not the ceiling grid. Mark doors, windows, cabinets, worktops, seating, and artwork. A kitchen counter needs focused light, while a sofa area usually needs softer, wider coverage. The IES Lighting Handbook commonly references 300–500 lux for detailed residential tasks, although the exact target depends on room use, finishes, and user preference.

Measure the ceiling height and the mounting height above the working surface. Then check each downlight’s beam angle and lumen output. A practical starting point places fixtures about 50–75% of their mounting height from the wall. For example, a 2.7-metre ceiling may begin with 0.9–1.3 metres between the wall and the first light. Spacing between fixtures can often match this distance, but narrow beams require closer placement.

Use the room length and width to test a balanced layout. Avoid placing every fitting in a rigid grid. Align lights with cabinet fronts or circulation paths when possible. The U.S. Department of Energy reports that qualified LED lighting can use at least 75% less energy than incandescent lighting and last up to 25 times longer. Efficiency matters, but glare still matters more in daily use.

I always recheck the beam overlap on the floor plan. Dark finishes absorb light. Glossy surfaces create reflections. My first spacing estimate is rarely perfect. A mock-up with one temporary fitting can reveal shadows that calculations miss.

Measure Ceiling Dimensions and Identify Key Areas

How to Calculate Recessed Downlight Spacing?

Measure the ceiling before choosing downlight positions. Record its length and width in metres. Note beams, ceiling steps, vents, smoke alarms, and access panels. These features can change the lighting layout. A laser measure gives better accuracy than a short tape measure. Still, check each measurement twice. Small errors can become obvious after installation.

Mark the room’s key areas, such as worktops, reading chairs, walkways, and dining tables. Place lights to support these activities, not just to fill empty ceiling space. For general lighting, divide the ceiling into a simple grid. Many installers begin with spacing equal to one-half or two-thirds of the ceiling height. This is only a starting point. Dark finishes, high ceilings, and narrow rooms may need closer spacing. A drawing on paper can reveal awkward gaps before drilling begins. I have found that perfectly equal spacing sometimes looks less balanced than aligning lights with furniture.

Tips: Keep downlights away from wall corners to reduce harsh scallops. Measure from the finished wall surface, not the unfinished frame. Leave clearance around vents and other fixtures. Use masking tape to mark proposed positions, then view them from the room entrance. If the pattern feels crowded, pause and adjust it. A lighting plan can be technically correct yet still feel uncomfortable. Consult a qualified electrician when wiring requirements or ceiling structure are unclear.

Choose the Recessed Downlight Beam Angle and Output

When calculating recessed downlight spacing, beam angle and light output should guide the layout, not fixture count alone. In a real kitchen, I measure ceiling height, counter depth, wall color, and work surfaces. A narrow beam concentrates light and creates brighter pools, while a wide beam spreads illumination more evenly. The choice changes the recommended spacing. For a 2.7-meter ceiling, a 36-degree beam may suit task lighting near counters, but it can leave dark gaps between fittings. A 60-degree beam often supports wider spacing, especially in open rooms with pale ceilings. Do not treat a beam-angle chart as exact. Furniture, trim, and wall texture alter the result.

Output matters just as much. A high-lumen light with a narrow beam can create harsh glare over a dining table. A lower-output fitting with a wider beam may feel softer, yet it might under-light a dark countertop. I estimate the target illuminance, then compare delivered lumens after losses from mounting height, surface finish, and lens design. Local lighting guidance should also inform the calculation. As a practical check, place temporary lights at the proposed spacing and inspect the floor at night. Look for overlapping pools, shadowed edges, and reflections on glossy cabinets. This hands-on test has exposed mistakes that drawings missed. I still revise layouts when room details change; a neat grid is not always comfortable.

Calculate Downlight Spacing and Row Placement

How to Calculate Recessed Downlight Spacing?

Downlight spacing should begin with the working surface, not the ceiling plan. Measure the mounting height above the table or floor. Then check the fixture’s photometric file for its spacing criterion.

A practical formula is: maximum spacing = mounting height × spacing criterion. For example, a 10-foot ceiling with a 3-foot workplane gives a 7-foot mounting height. With a spacing criterion of 1.0, rows should remain about 7 feet apart.

This is only a starting point. Beam angle, lumen output, ceiling color, and dimming requirements can change the result.

Row placement needs equal attention. Place the first row roughly half the calculated spacing from the wall. A 7-foot layout therefore begins about 3.5 feet from the wall. This reduces bright scallops and keeps wall surfaces visually balanced.

The IES Lighting Handbook commonly uses approximately 300 lux for general residential tasks, while detailed work may require higher levels. Measure the real surface, because a dark countertop can appear underlit even when the meter looks acceptable. Small changes matter.

The U.S. Department of Energy’s solid-state lighting reports show why LED maintenance factors must be included. Light output declines over time, although the rate varies by product and temperature. Apply the manufacturer’s lumen-maintenance data, rather than assuming every fitting performs identically.

I have seen evenly spaced rows still produce harsh pools. The calculation was correct, but the beam was too narrow.

Review the reflected ceiling plan with an actual photometric layout before cutting holes. Mistakes become expensive quickly.

Check Coverage and Adjust the Final Lighting Plan

How to Calculate Recessed Downlight Spacing?

A practical spacing plan starts with the room’s size, ceiling height, and downlight beam angle. A common starting point is spacing fixtures about one to one and a half times their mounting height. For a 2.8-meter ceiling, this may suggest 2.8 to 4.2 meters between lights. Treat this as a guide, not a fixed rule. Narrow beams need closer spacing. Wide beams can spread farther.

Check coverage on the actual floor plan. Mark each light’s beam circle at working height, not only on the ceiling. Look for dark gaps near sofas, kitchen counters, and doorways. Wall edges need special attention. Keep downlights roughly 0.6 to 0.9 meters from walls when even wall brightness matters. For task areas, shift the fixture toward the work surface. Avoid placing it directly behind a person’s head. That creates shadows.

The first layout is rarely perfect. I once found a neat grid that left a countertop visibly dim. Moving two lights by 30 centimeters improved the result more than adding another fixture. Use a scaled drawing, then test a sample area if possible. Check brightness, glare, shadows, and reflected light from pale or dark finishes. Confirm the total light output and circuit load with a qualified lighting professional. Local electrical requirements still matter. Leave room for adjustment. Furniture changes, and real rooms often expose mistakes that drawings hide.

How to Calculate Recessed Downlight Spacing?

Check the beam coverage at the working plane, then adjust the final lighting plan so adjacent light footprints overlap slightly. This example uses a 2.4 m ceiling height and recommends spacing at approximately 75% of the theoretical beam diameter.

Coverage diameter is calculated as 2 × mounting height × tan(beam angle ÷ 2). A wider beam covers more floor area, but excessive spacing can create uneven brightness. Always verify the final layout against the required illuminance for the room.

FAQS

What measurements should I take before planning recessed downlights?

Record the finished ceiling length and width in metres. Measure twice. Small errors can become visible after installation. Note beams, vents, ceiling steps, smoke alarms, and access panels.

How can I estimate the initial distance between downlights?

Use the ceiling height as a starting reference. Many layouts begin with spacing equal to one-half or two-thirds of that height. Another guide allows one to one and a half times the mounting height. These are estimates, not fixed rules.

How does ceiling height affect downlight spacing?

For a 2.8-metre ceiling, 2.8 to 4.2 metres may be a starting range. Narrow beams usually need closer spacing. Wide beams can spread farther. Dark finishes may also need additional light.

How far should downlights be placed from walls?

Keep them roughly 0.6 to 0.9 metres from walls when even wall brightness matters. This can reduce harsh scallop-shaped shadows. Measure from the finished wall surface.

Where should downlights go in a kitchen or work area?

Place fixtures over worktops and active surfaces. Shift a light toward the work surface when needed. Avoid placing it directly behind someone’s head. That position can create shadows.

How can I check for dark areas before drilling?

Draw the room to scale and mark each beam at working height. Check sofas, counters, walkways, and doorways. Use masking tape on the ceiling. View the marks from the room entrance.

Should downlights follow an exact grid?

Not always. Equal spacing can look less balanced beside furniture. Aligning lights with a dining table or reading chair may feel better. A perfect grid can still leave a countertop dim.

What should I do if the first lighting layout feels wrong?

Pause before drilling. Move proposed positions by hand and compare the shadows. In one example, moving two lights by 30 centimetres improved coverage. Real rooms can expose mistakes that drawings hide.

What details should I confirm before installation?

Check brightness, glare, shadows, reflected light, and total circuit load. Leave clearance around vents and other fixtures. Consult a qualified electrician when wiring or ceiling structure is unclear. Small adjustments can prevent costly rework.

Conclusion

Planning recessed downlights begins with understanding the room’s layout and lighting goals. Consider the room’s size, ceiling height, furniture arrangement, work areas, walkways, and any features that need emphasis. Measure the ceiling length and width, then mark key areas such as kitchen counters, dining tables, desks, or open circulation zones. These details help determine where light is most needed and prevent uneven illumination.

How to calculate the spacing for recessed downlights? First, select a beam angle and light output that suit the ceiling height and the desired brightness. A wider beam can cover more area, while a narrower beam may require closer placement. Divide the ceiling into practical rows, keeping the first and last lights a consistent distance from the walls and spacing the fixtures evenly within each row. Finally, review the expected coverage, check for dark spots or excessive overlap, and adjust the row positions, fixture count, or spacing until the lighting plan feels balanced and functional.

Sophia

Sophia

Sophia is a dedicated marketing professional with an exceptional depth of knowledge about her company's products and services. With a keen understanding of market trends and customer needs, she crafts insightful blog posts that not only inform but also engage readers, enriching the company’s online......