Choosing the right LED dimmer is more than matching wattage on a product page. In real installations, compatibility depends on the LED module, driver, dimming method, wiring, and minimum load. A dimmer may appear suitable yet produce flicker, buzzing, uneven brightness, or delayed start-up. How to choose a compatible dimmer for LED modules? Start with the module’s technical sheet and identify whether it uses phase-cut, 0–10V, DALI, PWM, or another control system. Then confirm the dimmer supports that method. Small details matter. A 12-volt LED module may require a compatible dimmable driver before any dimmer can work correctly.
These five practical tips focus on the checks experienced installers often perform before purchase. Verify the driver and dimmer brands, review the rated load range, and inspect the wiring requirements. A dimmer rated for incandescent lamps is not automatically suitable for LEDs. Check whether neutral wiring is required, especially when replacing an older wall switch. Test the complete circuit with the actual LED load, not only with a sample specification. That simple step can reveal flicker that a catalogue never mentions.
Measure twice.
Reliable advice should come from manufacturer documents, recognized electrical guidance, and qualified professionals. However, even careful recommendations can miss site conditions, such as long cable runs or mixed LED loads. This is where practical judgment matters. The goal is not merely to make the lights dim. It is to achieve stable, quiet, smooth control without overstressing the driver or dimmer. These tips provide a clear starting point, while reminding readers to verify every component before installation.
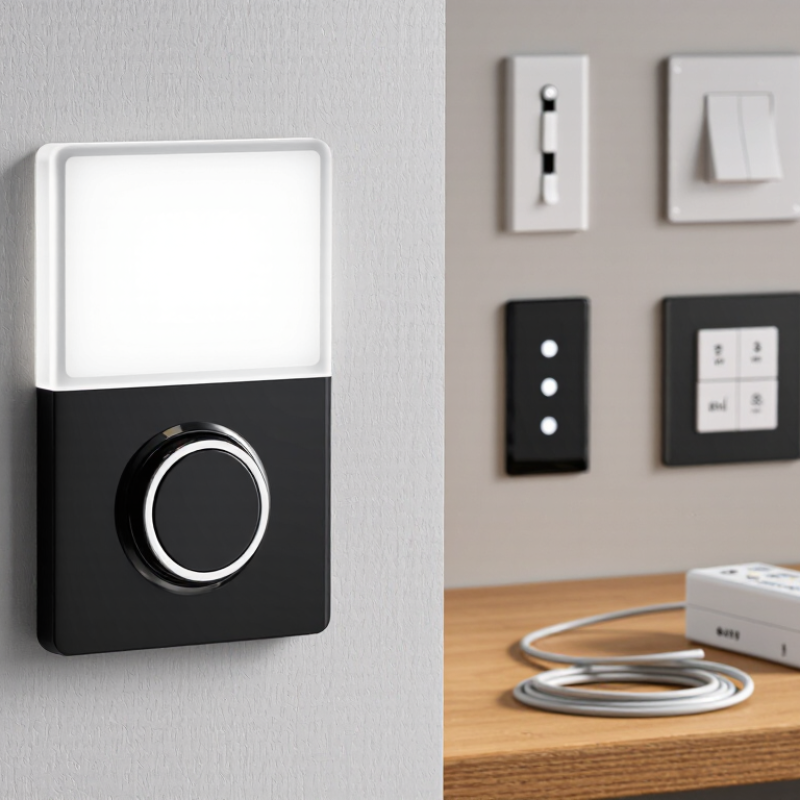
Choosing a compatible LED dimmer starts with understanding the LED driver, not the lamp’s appearance. Check whether the fixture supports leading-edge, trailing-edge, 0–10 V, or digital control. A phase-cut dimmer may work perfectly with one driver and flicker with another. Review the driver’s minimum load, maximum load, neutral-wire requirement, and approved control method. The details matter.
The U.S. Department of Energy reports that LED systems can deliver substantial energy savings, but poor control compatibility can reduce real-world performance. Lawrence Berkeley National Laboratory found average energy savings of about 47% across networked lighting-control projects. That figure does not guarantee savings in every room. A dimmer must match the driver’s electrical behavior.
Test a sample at low, medium, and full brightness. Listen for buzzing. Watch for shimmer through a phone camera.
Professional installers also check startup behavior. Some LEDs flash briefly when switched on, while others fail to reach their lowest rated level.
IEC 62386 provides a framework for digital lighting control, but a basic wall dimmer may use a different protocol. Read the technical sheet carefully. Tiny print causes expensive mistakes.
I have learned that “dimmable” is not a complete specification. Confirm compatibility tables, operating temperature, load range, and flicker performance before buying. When uncertain, test the actual dimmer, driver, and lamp together.
When choosing an LED dimmer, identify the load type before checking its appearance or control style. LED lamps may use phase-cut drivers, electronic low-voltage transformers, or 0–10 V control systems. These loads are not automatically interchangeable. A dimmer designed for one type may cause flickering, buzzing, limited range, or unexpected shutdowns with another type. Check the lamp and driver datasheets carefully. Look for terms such as dimmable, forward phase, reverse phase, or electronic low voltage.
Then calculate the total connected wattage. Add the rated wattage of every LED lamp on the circuit, not just the largest fixture. A circuit with eight 9-watt lamps has a 72-watt connected load. Compare that figure with the dimmer’s approved LED range. Maximum wattage matters, but minimum wattage matters too. Some dimmers need a minimum load for stable operation. Give yourself headroom. Heat, driver variation, and startup current can affect performance.
Real installations can be less predictable. I once saw one lamp flicker while seven others worked normally. The total wattage looked safe, but one driver behaved differently. Replacing that lamp solved the issue, though checking compatibility earlier would have saved time. Do not rely only on wattage. Verify load type, driver specifications, wiring method, and the dimmer’s technical documentation. When details conflict, pause and recheck the circuit. That small delay is worthwhile.
Tip: Match the dimmer to the wiring system before checking appearance or price. A single-pole circuit controls one light from one location. A three-way circuit controls the same light from two locations. These systems need different dimmer designs. I once assumed a three-way switch could accept any LED dimmer. It could not. The light flickered whenever the second switch was used.
Tip: Check whether the circuit includes a neutral wire. Some dimmers require neutral wiring, while others are designed for circuits without it. Look inside the wall box, not only at the old switch. A crowded box can hide the white neutral wire. Turn off the breaker before opening it. Do not trust the switch position. Use a voltage tester.
Tip: Match the dimmer to the load and control method. Standard LED lamps may use phase-cut dimming, while low-voltage systems need compatible electronic or magnetic controls. Never guess from wattage alone. Confirm the lamp’s dimming method, minimum load, and circuit type. Compatibility tables are useful, but real installations can differ. Loose connections, mixed lamps, and long wire runs may still cause buzzing or uneven brightness. When the wiring is unclear, ask a qualified electrician to inspect it.
5 Best Tips for Choosing a Compatible LED Dimmer?
When replacing a dimmer, check the LED lamp’s actual dimming range first. A dimmer that claims smooth control may still stop at 20 percent. Test the light at its lowest setting. Watch for flicker, buzzing, delayed startup, or sudden brightness jumps. I have seen a lamp appear compatible during the day, then flicker after several hours of use. Room temperature and wiring conditions can expose problems.
Controls matter as much as electrical capacity. Touch, rotary, and remote controls can produce different results with the same LED fixture. Choose controls that match how people use the room. For smart systems, confirm communication requirements and neutral-wire needs before installation. Do not assume every wireless control works with every receiver.
Then inspect the manufacturer’s ratings carefully. Look for the supported LED load range, minimum load, voltage, and maximum number of fixtures. A low wattage total does not always guarantee compatibility. Some LED drivers have unusual startup demands. Check for independent safety certifications and clear installation instructions. Technical sheets are more reliable than short product descriptions.
I once focused only on wattage. That was not enough. A better check includes the dimming range, control method, load rating, and installation conditions. If the specifications seem incomplete, treat that uncertainty as a warning rather than a minor inconvenience.
Verify installation safety before judging a dimmer’s performance. Turn off the circuit breaker, then confirm the wires are de-energized with a properly rated tester. A wall switch alone is not enough. Check the dimmer’s voltage, load type, and maximum wattage against the lighting circuit. LED loads can behave differently from older incandescent lamps.
Tip: Inspect the terminals carefully. Loose copper strands, exposed conductors, or cramped boxes can create heat and unreliable operation. Follow local electrical requirements and the installation instructions. If the wiring is unfamiliar, ask a qualified electrician to inspect it. Guessing here is not worth the risk.
After installation, test the lights at several levels. Watch for flickering, delayed startup, sudden shutoff, buzzing, or uneven brightness. Leave the lights at a medium setting for several minutes and check whether the dimmer becomes unusually warm. Test one lamp, then the full connected load. A system may look stable for ten seconds and fail after longer use. That small detail is easy to miss.
Tip: Repeat the test with the lights cold and warm. Some compatibility problems appear only after repeated switching. If low-level dimming feels rough, the dimmer may need a different LED load range or control method. Performance can vary between identical-looking lamps, so record the results rather than trusting appearance alone.
| Tip | What to Verify | Practical Selection Criteria | Installation Safety Check | Lighting Performance Test | Recommended Result |
|---|---|---|---|---|---|
| 1 | Confirm electrical compatibility | Match the dimmer type with the lighting load, such as dimmable LED lamps, integrated LED fixtures, or low-voltage LED drivers. Confirm the supply voltage and frequency shown on the product labels. | Switch off the circuit at the distribution board and verify that power is absent with an appropriate voltage tester. Installation should follow local electrical codes and be completed by a qualified electrician where required. | The light should turn on without delayed response, excessive noise, visible flashing, or unexpected shutoff. | Compatible |
| 2 | Check load range and minimum load | Compare the total connected LED wattage with the dimmer's rated LED load range. Include every fixture connected to the same dimming circuit and observe any stated minimum-load requirement. | Do not exceed the dimmer's maximum rating. Avoid combining incompatible load types on one circuit unless the instructions specifically permit it. | Test the lights at low, medium, and full output. They should remain on steadily without dropouts, pulsing, or sudden changes in brightness. | Within rated range |
| 3 | Review dimming method and control requirements | Select a dimmer designed for the required control method, such as phase-cut dimming, low-voltage driver control, or a digital control system. Check whether neutral wiring, a compatible driver, or a specific control wire is required. | Follow the wiring diagram exactly. Never connect a control terminal to a supply terminal, and do not assume that a no-neutral design is suitable for every circuit. | Adjust the control slowly across the full range. Brightness should increase and decrease smoothly without a dead zone or abrupt jump. | Control method matched |
| 4 | Assess flicker, noise, and heat | Use dimmable LED products and drivers with compatible dimming characteristics. Consider a dimmer with an adjustable low-end trim when the lamps do not maintain stable output at low brightness. | Install the device in an enclosure with sufficient space and ventilation. Do not cover heat-dissipating surfaces, and stop testing if there is a burning smell, discoloration, arcing, or abnormal heat. | Observe the light directly and through a smartphone camera at several dimming levels. Listen for buzzing and check that the faceplate remains only normally warm during operation. | Stable and quiet |
| 5 | Verify installation quality and long-term operation | Check terminal tightness, conductor compatibility, grounding requirements, enclosure fit, and whether the dimmer is suitable for the intended environment. Keep the installation instructions for future maintenance. | Ensure exposed conductors are fully enclosed, the wall plate is secure, and the circuit protection is appropriate. Re-energize the circuit only after the wiring and enclosure have been inspected. | Operate the dimmer repeatedly from minimum to maximum output and leave it running under normal load long enough to confirm reliable performance without flicker, reset, or overheating. | Ready for regular use |
Safety note: LED compatibility depends on the specific dimmer, LED fixture, and driver combination. Always follow the applicable installation instructions and local electrical regulations.
Check the LED driver’s control method, load range, voltage, and neutral-wire requirement. Appearance is not enough.
It may use leading-edge, trailing-edge, 0–10 V, or digital control. Match the dimmer to the driver.
The driver and dimmer may respond differently electrically. Test for flicker at low, medium, and full brightness.
Watch the lamp directly and through a phone camera. Look for shimmer, brightness jumps, or delayed startup.
Check minimum load, maximum load, voltage, and the permitted fixture count. A low total wattage can still cause problems.
No. Some systems stop near 20 percent or shut off suddenly. Test the lowest setting before installation.
Turn off the circuit breaker and confirm de-energization with a properly rated tester. A wall switch alone is insufficient.
Check for loose copper strands, exposed conductors, cramped wiring, and secure terminals. Follow local electrical requirements.
Test one lamp, then the full load. Leave the lights at medium brightness for several minutes.
Treat missing information as a warning. I once checked only wattage, and that was not enough.
Choosing the right LED dimmer begins with understanding compatibility requirements rather than relying on appearance alone. How to choose a compatible dimmer for LED modules? First, identify the LED load type, confirm whether it is dimmable, and calculate the total wattage connected to the circuit. The dimmer must also match the wiring system, such as single-pole or multi-location control, and be suitable for the available electrical configuration.
Next, review the dimmer’s supported dimming range, control method, and rated load capacity. A product that supports smooth low-level dimming can help prevent flickering, buzzing, or unexpected shutoff. Always compare the manufacturer’s technical ratings with the actual LED driver and module specifications, leaving an appropriate capacity margin. During installation, follow applicable electrical safety requirements, switch off power, and use suitable wiring connections. After installation, test the full brightness range, startup behavior, and performance under normal operating conditions to confirm stable, comfortable, and reliable lighting.

Ledic Lighting